Resize the photo down to the size it will actually display at, then compress it. Doing those two steps in that order produces a noticeably smaller file than compressing alone, because a compressor can only remove detail that survives at the pixel count it is given, and a huge photo has detail to spare even after heavy compression. The image resizer handles the first step and the image compressor handles the second, and running the same photo through both, in each order, shows exactly how much the order matters.
The source for this test is a 4000 by 4000 pixel JPEG at quality 92, 1.46 MB, exported from the same scenic desktop wallpaper used in the companion guide on image formats. Every number below is the size the site's own tools reported, measured in a Chromium browser, read exactly as the tool displays it.
Resize first, then compress: the measured difference
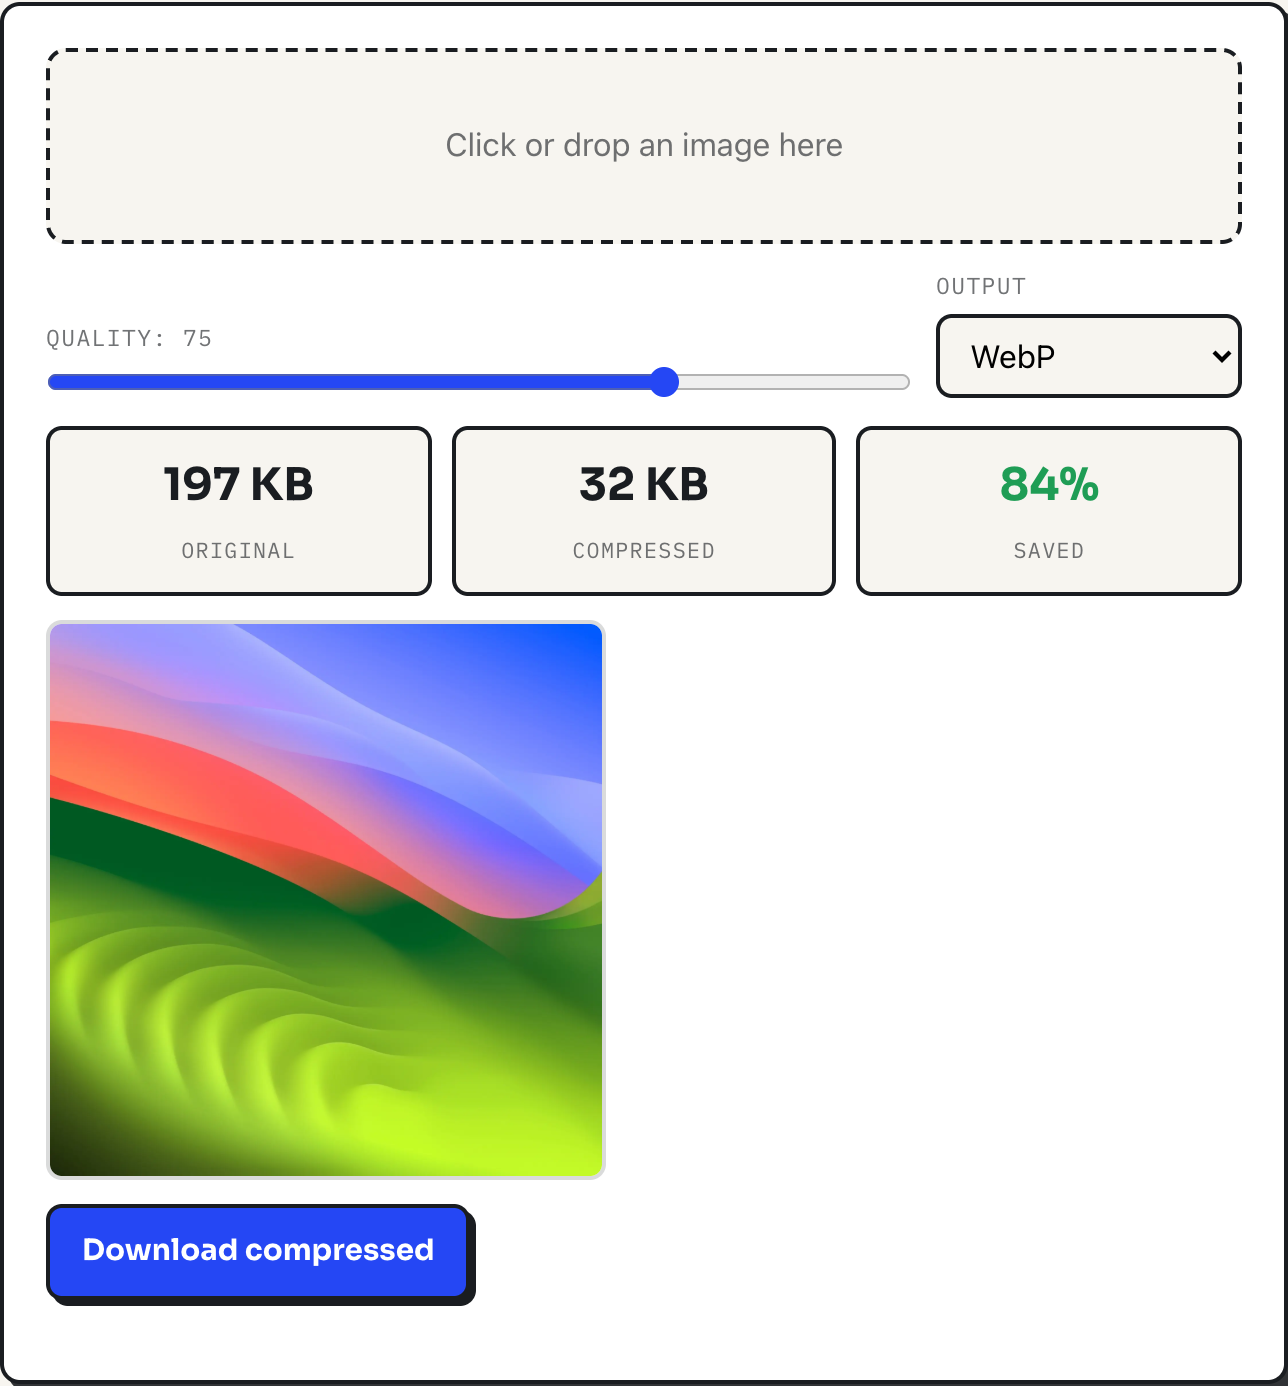
Compressing the 4000px original directly, with no resize, at quality 75 in both output formats, against resizing it to 1920x1920 first (which itself produced a 197 KB JPEG) and then compressing that at quality 75:
| Path | JPEG, quality 75 | WebP, quality 75 |
|---|---|---|
| Compress only (4000x4000 original) | 238 KB | 85 KB |
| Resize to 1920x1920, then compress | 83 KB | 32 KB |
Resizing first nearly triples the savings in both formats: JPEG drops from 238 KB to 83 KB, WebP from 85 KB to 32 KB. Nothing about the compression step changed, same quality slider, same photo. What changed is that the compressor is working on 1920x1920 pixels instead of 4000x4000, sixteen times fewer pixels, so the encoder has that much less information to store even before quality settings enter into it. Compression quality controls how much detail survives per pixel; resizing controls how many pixels there are to begin with. Skipping the resize step and leaning on a low quality setting instead trades away sharpness to fight a problem that resizing would have solved directly.
Picking a target size, not a percentage
A quality percentage on its own does not tell you whether a file is small enough for its destination; a target pixel size and a rough file-size ceiling do. A few practical targets:
- Email attachments: keep each image under a few hundred KB and around 1600 to 2000 px on the long side. Several full-resolution photos in one email add up fast, and most mail providers cap total attachment size.
- A web page hero image: around 1600 to 2000 px wide is enough for any screen currently in use to display it sharply, since almost nothing renders a hero image wider than that on screen even on a large monitor.
- Thumbnails: 400 to 800 px is plenty. A thumbnail rendered at 150 px on the page does not benefit from carrying 4000 px of source detail.
In every case, the resizer's job is to hit the pixel target, and the compressor's job is to hit the file-size target once the pixel count is already right.
Why quality 75 to 80 is the sweet spot on this photo
The compressor's quality slider runs from 10 to 100 and defaults to 75. Looking at the resized 197 KB file compressed at a range of settings shows why that default sits where it does: JPEG output falls from 203 KB at quality 92 to 105 KB at quality 80, a steep drop, then only to 83 KB at quality 75 and 59 KB at quality 60, a much shallower one. WebP follows the same shape: 38 KB at quality 80, 32 KB at quality 75, 28 KB at quality 60. Above roughly 80, file size grows fast for detail that is hard to see at normal viewing sizes. Below roughly 75, file size keeps falling but more slowly, while compression artifacts in smooth areas like sky start becoming visible. The 75 to 80 range sits right at the bend in that curve: past the point of fast returns, short of the point where quality visibly suffers. It is a reasonable default, not a rule; a photo full of fine texture may need a few points higher, a photo destined for a small thumbnail can usually go lower.
What resizing changes and what it does not
The resizer redraws the image onto a canvas at the target dimensions with the browser's high-quality image smoothing turned on, which is proper resampling rather than dropping or duplicating pixels, so downscaled photos stay sharp instead of aliasing. Aspect ratio locks by default: type a width and the height field updates on its own, and vice versa, so a photo cannot be squashed by accident. The maximum output size is capped at 12000 pixels on either side, a guardrail against a browser tab running out of memory on an oversized canvas. Output format follows the input: a JPEG in stays a JPEG out, encoded at a fixed quality of 0.92, and anything else, PNG included, comes out as PNG with transparency intact, both fixed values set directly in the resizer's code rather than exposed as an option.
The metadata side effect
Both tools draw the source image onto an HTML canvas before writing the output file, and a canvas has no concept of the metadata that sat alongside the original pixels. Camera make and model, capture date, and GPS coordinates if the photo has them do not survive the trip through drawImage and toBlob. The compressor's own FAQ states this directly: compressing an image strips EXIF data, GPS location included. That is worth knowing in both directions. It is a genuine privacy benefit before posting a photo publicly, since the location it was taken rarely needs to travel with it. It is also a reason not to run a photo through the resizer or compressor first if a workflow later needs that metadata for something else, like sorting a photo library by capture date.
Where this stops being enough
Neither tool batches: the resizer and compressor both work on one image at a time, so a folder of two hundred product photos means two hundred trips through the browser. There is no crop tool here, so changing an image's proportions rather than just its size means turning off the aspect-ratio lock and stretching it, which distorts the picture; a real crop needs a separate step. PNG files do not shrink meaningfully through either tool, since both re-encode losslessly rather than running a dedicated PNG optimizer, so a PNG that needs to get smaller usually needs converting to JPEG or WebP first, covered in the companion guide on choosing between JPEG, PNG and WebP. And upscaling past the original size, while technically allowed up to five times, invents pixels rather than recovering detail that was never captured, so it helps for a quick casual use and not for anything meant to be printed.
What to do
- Resize to the size the image will actually display at before compressing. It is the single biggest lever, bigger than the quality slider.
- Start compression around quality 75 to 80 and adjust by eye from there; the size gain above 80 is rarely worth it, and the size loss below 75 becomes visible sooner than expected.
- For email, land under a few hundred KB per image and around 1600 to 2000 px on the long side. For a web hero, 1600 to 2000 px wide. For thumbnails, 400 to 800 px.
- Keep an unedited original somewhere. Metadata is gone once a file passes through canvas re-encoding, and every extra JPEG re-encode costs a little quality that resizing from the original avoids.