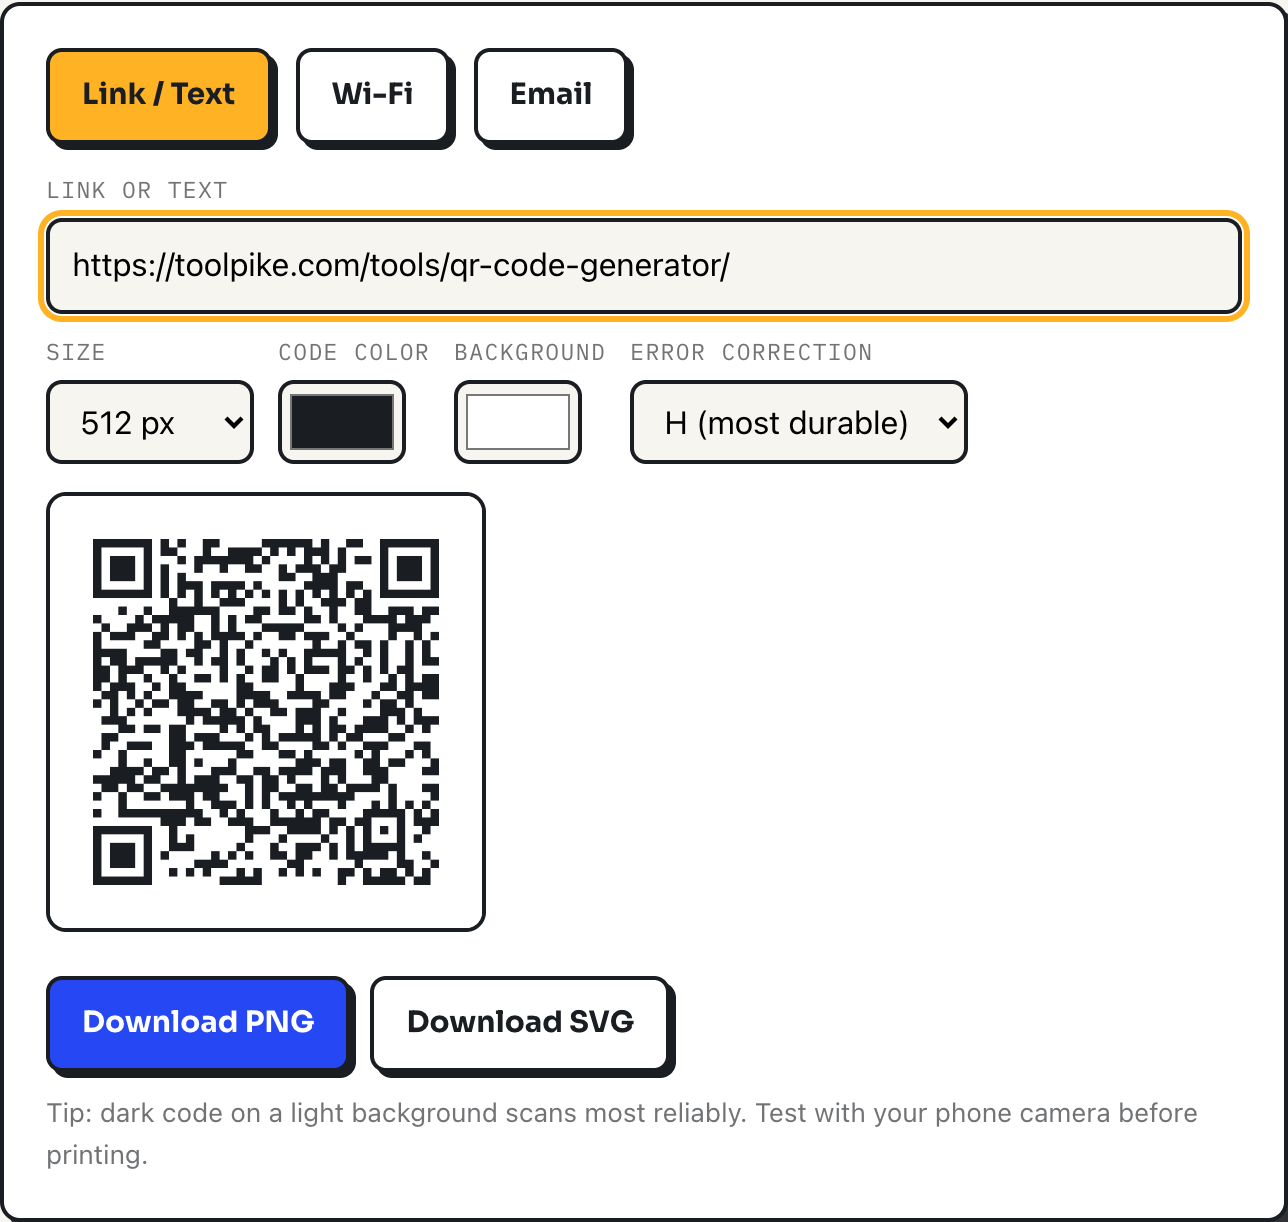
The error correction dropdown on the QR code generator has four options, L, M, Q and H, and most people leave it on the default and move on. That default is a reasonable choice, but the setting does something specific and measurable: it decides how much of the printed code can be dirty, torn or covered by a logo and still scan, at the direct cost of a bigger, denser pattern for the same text. The tradeoff is not folklore. It shows up in the module count the instant you change the dropdown.
What the four error-correction levels actually trade
A QR code stores your data as a square grid of black and white squares called modules, plus a layer of redundant data computed from that content using Reed-Solomon error correction. The four levels set how much of the grid that redundant layer occupies: L reconstructs the code if roughly 7% of it is damaged, M covers roughly 15%, Q roughly 25%, and H roughly 30%. Nothing about the pixels you see changes conceptually between levels, but the amount of spare data does, and spare data has to live somewhere. For a fixed piece of text, a higher level either forces a larger grid or leaves less room for content before the tool has to bump the grid size up to fit.
The generator's own encoding library, running entirely in the browser, works this out automatically: you never pick a grid size directly, only the error correction level and the text, and the library finds the smallest grid that fits both.
A worked example: one link, four settings
Type https://toolpike.com into the Link / Text field and cycle through the four error correction options. The resulting grid, measured in modules per side, does this:
| Level | Modules | Approximate damage tolerance |
|---|---|---|
| L | 25 | about 7% |
| M | 25 | about 15% |
| Q | 25 | about 25% |
| H | 29 | about 30% |
For this short URL, L, M and Q all fit in the same 25-module grid; the library only has to step up to 29 modules for H. That is the pattern worth remembering: error correction does not cost you anything until it pushes the data past what the current grid size can hold, and then it costs you a jump, not a gradual increase.
Why longer text jumps the grid size faster than more error correction
Length matters more than the error correction dropdown, and by a wider margin. Switch the field to the tool's own address, https://toolpike.com/tools/qr-code-generator/, and the grid at the default M level jumps straight to 33 modules, up from 25 for the short link. Encode the Wi-Fi payload from the tool's own Wi-Fi tab, a string like WIFI:T:WPA;S:CoffeeShack;P:b3ans-and-mugs;;, and M also lands at 33 modules. Twenty-six extra characters of URL path cost as much grid space as jumping two whole error correction levels did in the first example. If a QR code is coming out too dense to print cleanly, shortening the text almost always helps more than lowering the error correction level.
How the tool draws the code, and why SVG wins for print
Once the library has the module grid, the tool renders it two different ways. For PNG, it walks every module and fills a square on a canvas element sized to your chosen export dimensions, with a fixed four-module quiet zone left blank around the edge so scanners have clean margin to lock onto the pattern. For SVG, it walks the same grid and emits one vector rectangle per dark module inside a viewBox sized to the module count, with shape-rendering="crispEdges" so no renderer tries to smooth the square edges. Both outputs come from the identical grid, but they behave differently once you resize them. A PNG is a fixed number of pixels; stretch it past its native size and the squares blur or go blocky. An SVG rectangle has no native size at all, so a poster-sized print looks exactly as sharp as a business-card one.
Sizing it for print or screen
Because the canvas is a fixed pixel size and the grid is a fixed module count, each module ends up a specific number of pixels wide, and that number shrinks as either the grid grows or the export size shrinks:
| Modules | 256 px export | 512 px export | 1024 px export |
|---|---|---|---|
| 25 | 7 px | 15 px | 31 px |
| 29 | 6 px | 13 px | 27 px |
| 33 | 6 px | 12 px | 24 px |
| 41 | 5 px | 10 px | 20 px |
A module rendered at 5 or 6 pixels is fine on a phone screen but risky on a cheap inkjet printer, where ink can bleed a module into its neighbor. The practical fix, when a code is coming out dense, is to export the 1024-pixel PNG instead of 512, or better, download the SVG and let the print software scale it to whatever size the label needs without ever touching a pixel grid.
Where this tool stops being enough
QR codes have a hard capacity ceiling that gets lower as error correction rises, and paste in a few paragraphs of text and the tool shows a plain warning rather than a broken code, because the library refuses to encode data it cannot fit. The fix is to host the text somewhere and encode a link instead of the text itself. The color pickers also do not stop you from choosing a light foreground on a dark background, which many phone cameras read poorly even though the code is technically valid, so keep the foreground darker than the background. And the built-in Wi-Fi mode covers WPA/WPA2, WEP and open networks, but not enterprise networks that authenticate with a username, because the underlying Wi-Fi QR string format has no field for one.
What to do
- Leave error correction on M unless the code will be printed small, laminated, or partly covered by a logo, in which case move to Q or H.
- Shorten the encoded text before raising error correction; it saves more grid space per character.
- Download SVG for anything going to a printer or designer, and save PNG for on-screen use where a fixed pixel size is fine.
- Keep the foreground color darker than the background, and test the printed result with a phone camera before running a full batch.